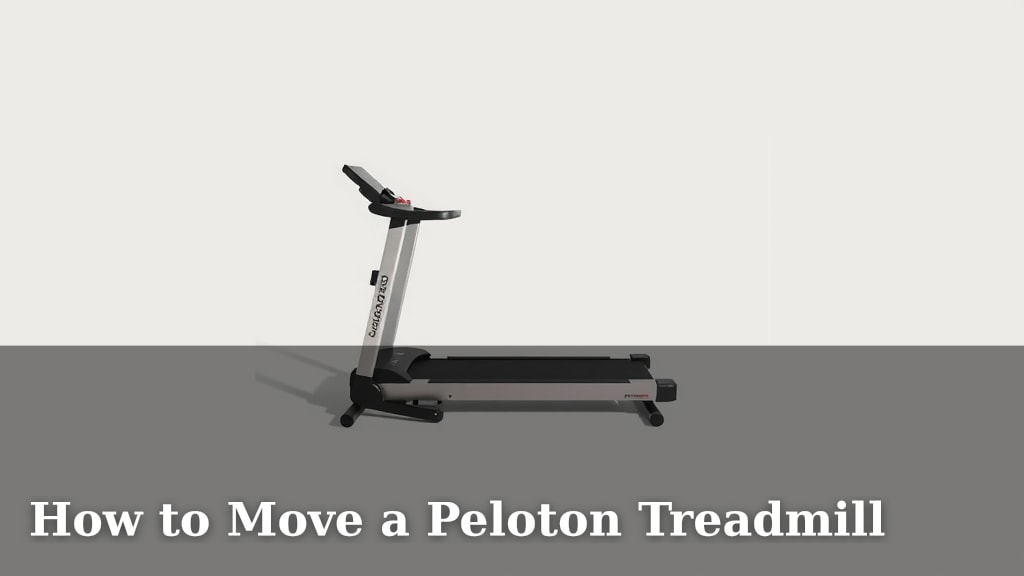
How to Move a Peloton Treadmill
Moving a Peloton Treadmill requires careful planning and the right help to avoid damage. The best way to move your Peloton Treadmill is by using the original packaging if you have it, or by enlisting at least two strong helpers and using a specialized treadmill dolly. You’ll need to properly disassemble it and secure all parts before attempting to lift or transport it. This process is manageable with patience and the right approach, ensuring your treadmill arrives safely at its new home.
When considering a move, whether it’s across town or just to another room, protecting your investment is key. Many people underestimate the weight and bulk of a Peloton Treadmill. Proper preparation, including disconnecting power and securing moving parts, is essential. We found that a common mistake is not having enough hands or the right equipment, leading to potential injury or damage to the machine itself. Careful disassembly and secure transport are critical for a successful move.
- Prepare your space and the treadmill for the move.
- Gather the necessary tools and equipment.
- Disassemble key components safely.
- Use a sturdy dolly and enlist ample help.
- Carefully reassemble and test at the new location.
Let’s walk through exactly how to move your Peloton Treadmill step by step, so you can get back to your workouts without a hitch.
“`htmlMoving Your Peloton Treadmill Safely
Moving a Peloton Treadmill can seem like a Herculean task. These machines are built like tanks, and for good reason – they’re designed to withstand intense workouts. But that also means they are incredibly heavy and bulky. We’ve found that the biggest mistake people make is underestimating the weight. It’s not just heavy; it’s awkward. Successfully moving yours requires careful planning and the right strategy to protect both your machine and your back.
The good news is that with the right preparation, you can absolutely move your Peloton Treadmill. We’re going to break down the process into manageable steps. Think of it like preparing for a marathon – you wouldn’t just start running without training. This is your treadmill’s “training” for the move. Let’s get you ready to relocate your favorite workout companion.
Preparing Your Peloton for the Journey
Before you even think about lifting, some essential preparation needs to happen. This isn’t the part you want to rush. It ensures everything stays put and nothing gets damaged during the move. Think of this as the warm-up before the big lift.
Step 1: Disconnect Power and Secure the Deck
First things first, always unplug your treadmill. It might seem obvious, but it’s a step that can be overlooked in the excitement (or stress) of moving. Make sure the power cord is safely tucked away. After unplugging, the treadmill belt needs to be secured. Peloton treadmills often have a way to lock the deck in an upright position. Check your user manual for the specific instructions for your model. Some models have straps or locking mechanisms. If yours doesn’t, you might need to use strong moving straps to keep the deck from falling unexpectedly.
Step 2: Gather Your Moving Arsenal
You can’t move a Peloton with just your bare hands. You’ll need some specialized equipment. We’ve found that having the right tools makes the job significantly easier and safer. Here’s what you should look to gather:
- Heavy-duty moving straps: Essential for securing the deck and for lifting.
- A sturdy treadmill dolly: This is a specialized dolly designed for moving heavy exercise equipment. A standard furniture dolly might not be wide or strong enough.
- Moving blankets or thick padding: To protect the treadmill’s surfaces from scratches.
- Gloves with good grip: For you and your helpers.
- Packing tape or strong plastic wrap: To secure any loose parts or blankets.
- A Phillips head screwdriver: You might need this for minor disassembly, depending on your model and the path you need to take.
- A friend (or three!): Seriously, you cannot do this alone. We recommend at least two strong helpers, but four is even better.
Step 3: Clear the Path
Think about the journey your treadmill will take from its current spot to its new location, and then to the moving truck or final destination. Are there narrow doorways? Tight corners? Stairs? You need to clear everything out of the way. Remove any rugs, furniture, or clutter. Measure doorways and hallways to ensure your treadmill will fit. Sometimes, you might need to remove doors from their hinges to gain a few extra inches. We found that taking the time to plan the route saves a lot of stress and potential damage.
The Actual Moving Process: Lifting and Transporting
Now that your treadmill is prepped and you have your gear and crew, it’s time for the main event. This is where your planning pays off.
Securing the Treadmill for the Move
Once the deck is locked and the treadmill is unplugged, it’s time to add extra protection. Wrap the entire treadmill in moving blankets. Pay special attention to the console, side rails, and any painted surfaces. Secure the blankets with packing tape or plastic wrap. This prevents scratches and dings during the move. If you have the original Peloton packaging, that’s even better, but it’s rare for people to keep it. If you do, use it!
Using a Treadmill Dolly
This is where the specialized dolly comes in. Most Peloton treadmills have a slightly raised base or feet that allow you to slide the dolly underneath. Work with your helpers to carefully tilt the treadmill just enough to position the dolly. Make sure the dolly is centered and secure under the treadmill’s base. You might want to use straps to further secure the treadmill to the dolly itself. This prevents it from shifting during transport.
The Lift and Maneuver
This is the most physically demanding part. You and your helpers will need to lift and guide the treadmill onto the dolly, and then maneuver it. Always lift with your legs, not your back. Communicate clearly with your team. Everyone should know where they’re lifting and where you’re going. Go slowly and deliberately. If you encounter an obstacle, stop and reassess. Don’t try to force it. If you have stairs, this is where it gets tricky. Many experts suggest using a stair-climbing dolly or, for maximum safety, hiring professional movers experienced with heavy equipment.
Loading onto a Vehicle
If you’re moving the treadmill yourself, you’ll need a sturdy ramp to get it into a moving truck or van. Again, proper technique and communication are key. Secure the treadmill inside the vehicle so it cannot shift during transit. Use plenty of straps and padding. You don’t want it moving around while you’re driving. We found that positioning it so it can’t slide forward or backward is the most important factor.
Reassembly at Your New Location
Congratulations, you’ve moved the beast! Now it’s time to get it back in working order.
Unloading and Positioning
Reverse the loading process. Use the ramp and dolly to carefully unload the treadmill. Position it in its new spot. Ensure the area is level and has enough clearance around it for safe use.
Unpacking and Final Checks
Remove the moving blankets and packing materials. Double-check for any scratches or damage that may have occurred. Reconnect the power cord. Turn the treadmill on and perform a brief test run. Check that the belt moves smoothly and that the console powers up correctly.
Checklist for a Smooth Move
- Confirm path clearance: Measure doorways and hallways.
- Gather all equipment: Dolly, straps, padding, gloves.
- Enlist enough strong helpers: At least two, preferably four.
- Secure the deck and wrap the treadmill: Protect it thoroughly.
- Use a treadmill dolly: Never try to lift it without one.
- Move slowly and communicate: Avoid rushing and accidents.
Moving a Peloton Treadmill is a two-person job, often requiring more hands and specialized equipment. Following these steps can help ensure your treadmill makes it to its new home safely, ready for your next great workout.
“`Conclusion
You’ve successfully navigated the process of moving your Peloton Treadmill! Remember, careful preparation and sufficient help are your greatest allies. By following the steps for securing the deck, gathering the right equipment, and communicating clearly with your helpers, you’ve protected your investment. You’ve done the hard work, and now your treadmill is ready for its next challenge. Get ready to break a sweat in your new space!
Frequently Asked Questions
How many people does it take to move a Peloton Treadmill?
We recommend at least two strong helpers, but four is ideal for safety and ease. This ensures you have enough hands to lift, maneuver, and stabilize the treadmill throughout the entire move. Trying to move it with fewer people significantly increases the risk of injury or damage.
Can I use a regular furniture dolly to move my Peloton Treadmill?
No, a regular furniture dolly is generally not recommended. Peloton treadmills are extremely heavy and bulky, requiring a specialized treadmill dolly designed to handle their weight and shape. A furniture dolly might not be wide enough or sturdy enough to safely support the machine.
What if I don’t have the original Peloton packaging?
Don’t worry if you’ve discarded the original packaging. Your primary goal is to protect the treadmill’s surfaces. Use heavy-duty moving blankets or thick padding wrapped securely with packing tape or plastic wrap. This barrier is key to preventing scratches and dents during the move.
Is it safe to move a Peloton Treadmill up or down stairs?
Moving a Peloton Treadmill on stairs is extremely difficult and risky. We strongly advise against attempting it yourself. If stairs are involved, it’s best to hire professional movers experienced with heavy gym equipment or use a specialized stair-climbing dolly. Safety should always be your top priority.
Do I need to disassemble my Peloton Treadmill before moving it?
Generally, significant disassembly isn’t required for most moves. The main steps involve securing the deck and ensuring it’s unplugged. Some users might remove the console screen if it’s particularly bulky or poses a maneuverability issue, but this is rarely necessary. Always check your specific model’s manual if you’re unsure.