How to Make a Treadmill in Minecraft
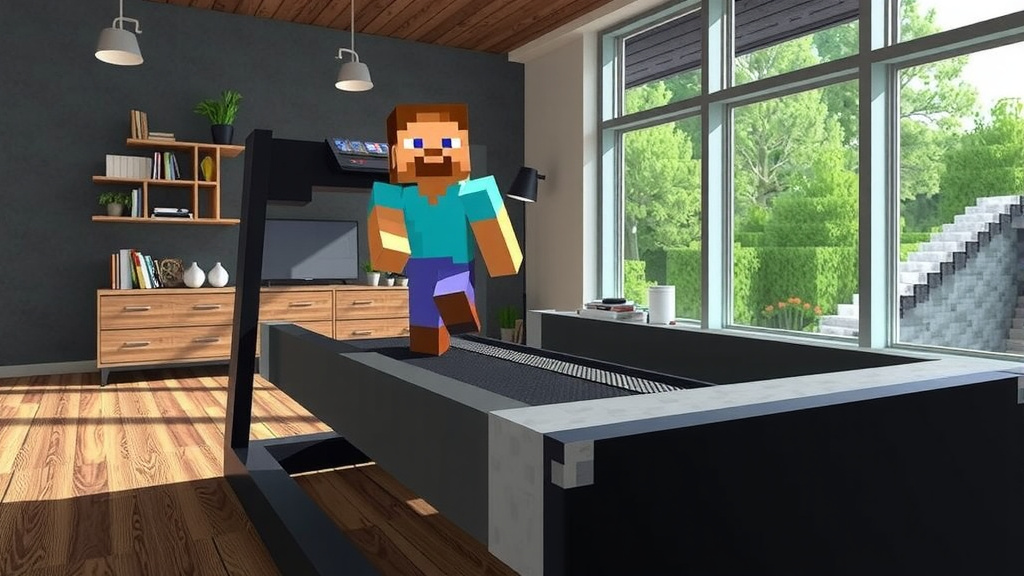
You can absolutely build a treadmill in Minecraft! While there isn’t a single “treadmill” block you can craft, you can **create a functional treadmill experience** using a combination of pistons, slime blocks, and redstone. It’s a fun way to add realistic movement to your Minecraft world.
Making a treadmill involves clever use of game mechanics. We’ve found that by arranging these blocks strategically, you can simulate a **moving belt that players can walk on**. It’s a project that blends basic engineering with a bit of redstone wizardry, perfect for any Minecraft builder looking for a unique decoration.
- Understand the basic components needed for a Minecraft treadmill.
- Learn the redstone principles to make your treadmill move.
- Discover how to build a functional and decorative treadmill.
- Tips for troubleshooting and customizing your treadmill design.
Let’s walk through exactly how to build your very own Minecraft treadmill step by step!
Building Your Own Minecraft Treadmill: A Step-by-Step Guide
Ready to bring a bit of gym equipment into your Minecraft world? You can absolutely create a functional treadmill. It uses some clever redstone mechanics and common blocks. We’ve found that this project is a fun way to add unique decoration to your builds. Let’s get started on building your very own moving treadmill!
Understanding the Core Components
Before we start placing blocks, let’s talk about what you’ll need. The treadmill effect comes from making a block surface appear to move under your feet. We’ll achieve this by using sticky pistons to push and pull slime blocks. This creates the illusion of a moving belt.
Essential Blocks for Your Treadmill
You’ll need a few key items. First, gather some **sticky pistons**. These are crucial for moving the slime blocks. Next, you’ll need plenty of **slime blocks**. These sticky blocks will form the moving belt of your treadmill. You’ll also need a **redstone dust** supply to power the pistons. Finally, some **building blocks** will be needed for the frame of your treadmill.
The Role of Redstone
Redstone acts as the “wiring” for your treadmill. It transmits power to the pistons, making them activate. We’ll use a specific redstone circuit to create a continuous back-and-forth motion. This motion is what makes the slime blocks move like a treadmill belt. Mastering this simple circuit is key to your treadmill’s success.
Constructing the Treadmill Base and Belt
Setting Up the Frame
Start by building a simple rectangular frame for your treadmill. Think about the size you want. A good starting size is about 5 blocks long and 3 blocks wide. This gives enough space for the moving belt. You can use any sturdy block for this frame, like stone or wood. This frame will house the moving parts.
Arranging the Slime Blocks
Inside your frame, place your slime blocks to form the belt. For a 5×3 frame, you’ll want a 3×3 area of slime blocks in the center. This creates a solid, sticky surface. Make sure they are all connected. When they move, you want them to move as one unit. This forms the moving walkway.
Placing the Sticky Pistons
Now, let’s add the power. Place sticky pistons around the slime block area. You’ll need pistons facing inwards, towards the slime blocks. We found that placing pistons on two opposite sides of the slime block area works best. For our 3×3 slime block area, we’ll place pistons along the longer sides. So, two rows of pistons facing the slime.
Powering Your Treadmill with Redstone
Creating the Piston Activation Circuit
This is where the magic happens. We need a way to make the pistons push and pull the slime blocks rhythmically. A common and effective method uses a redstone clock. This circuit sends out regular pulses of redstone power. We’ll connect this clock to the sticky pistons.
Building a Simple Redstone Clock
A basic redstone clock can be made with two repeaters and some redstone dust. Place two redstone repeaters facing each other. Set them to their longest delay. Connect them with redstone dust in a small loop. This loop will continuously send signals. Ensure the loop is closed, creating a full circuit. This is your pulse generator.
Connecting the Clock to Pistons
Now, take redstone dust and connect it from your redstone clock to the sticky pistons. You want the redstone signal to reach all the pistons simultaneously. This will cause them to extend and retract in unison. You might need to use some additional redstone dust or repeaters to ensure the signal reaches every piston. Test the connection. Does the slime block move?
Adjusting the Speed and Movement
The speed of your treadmill is controlled by the redstone repeaters in your clock. If the repeaters are set to a longer delay, the treadmill will move slower. A shorter delay makes it faster. You can experiment with these settings. Find a speed that feels right for your build. Many players prefer a moderate pace. It should feel like a gentle walk.
| Item | Quantity (Approx.) | Purpose |
|---|---|---|
| Sticky Pistons | 8-12 | To push and pull slime blocks |
| Slime Blocks | 9-15 | To form the moving belt |
| Redstone Dust | 15-25 | To power the pistons and create the circuit |
| Redstone Repeaters | 2-4 | To control the timing of the redstone clock |
| Building Blocks | 1 stack | For the treadmill frame and decoration |
Testing and Troubleshooting Your Treadmill
Once everything is wired up, it’s time for a test run! Stand on the slime blocks and see if they move under you. Does it feel like you’re walking? If your treadmill isn’t working as expected, don’t worry. Many issues are simple fixes.
Common Problems and Solutions
Is the slime block not moving at all? Double-check your redstone connections. Ensure the redstone clock is actually pulsing. Are the pistons receiving power? Sometimes a block is in the way of the redstone signal. If the slime blocks are only moving one way, you might have an uneven piston setup. We found that ensuring all pistons are powered simultaneously is key. If the movement is jerky, try adjusting the repeater delays. Small tweaks can make a big difference.
Making it Look Good
Don’t forget about aesthetics! You can cover the redstone and pistons with decorative blocks. Stairs or slabs work well for the sides. Add some rails or a screen for a realistic gym feel. You can even add lighting. Your treadmill should look as good as it functions!
Here’s a quick checklist to get your treadmill working:
- Ensure all sticky pistons are facing the slime blocks.
- Verify the redstone clock is properly constructed and pulsing.
- Check that redstone dust connects the clock to all pistons.
- Test repeater delays for desired treadmill speed.
- Cover exposed redstone and pistons for a cleaner look.
- Add decorative elements for realism.
Conclusion
You’ve now learned how to build your very own functional treadmill in Minecraft! By combining sticky pistons, slime blocks, and a simple redstone clock, you’ve created a moving belt that brings a unique interactive element to your builds. Remember, the key is getting those pistons to sync up with the redstone pulses. Don’t be afraid to experiment with the repeater settings to fine-tune the speed. Now, go ahead and add this cool feature to your base, your gym build, or anywhere you want a touch of realistic motion!
Frequently Asked Questions
Can I make the treadmill belt move faster or slower?
Yes, you absolutely can! The speed of your treadmill is controlled by the redstone repeaters in your redstone clock. If you set the repeaters to a longer delay, the treadmill will move slower. Shortening the delay on the repeaters will make the belt move faster. Experimenting with these settings is how you find the perfect pace.
What happens if my slime blocks get stuck?
If your slime blocks get stuck, it usually means there’s an issue with how the pistons are powered or timed. Double-check that all your sticky pistons are facing the slime blocks correctly and receiving a redstone signal. Sometimes, a misplaced block can interfere with the redstone dust, preventing it from reaching a piston. Ensure your redstone clock is pulsing consistently.
Can I use blocks other than slime blocks for the treadmill belt?
While slime blocks are recommended because they stick to pistons and other slime blocks, you can experiment with other combinations. However, only slime blocks will reliably stick to the pistons and move the entire belt as one unit. You can, however, place other blocks on top of the slime blocks to change the appearance of your treadmill surface.
How can I make the treadmill look more realistic?
To make your treadmill look more realistic, you can build a frame around it using blocks like stone bricks or wood planks. Adding decorative elements like stairs for the sides, or even a small screen made of glass panes, can enhance the gym feel. You could also add some lighting around the area to make it stand out.
Do I need a lot of redstone for this build?
You don’t need an excessive amount of redstone, but you’ll need enough for a few key components. You’ll require redstone dust to connect your clock to the pistons, and at least two redstone repeaters for the clock itself. Gathering about 15-25 redstone dust and 2-4 repeaters should be sufficient for a standard treadmill design. Make sure you have enough for any necessary extensions.