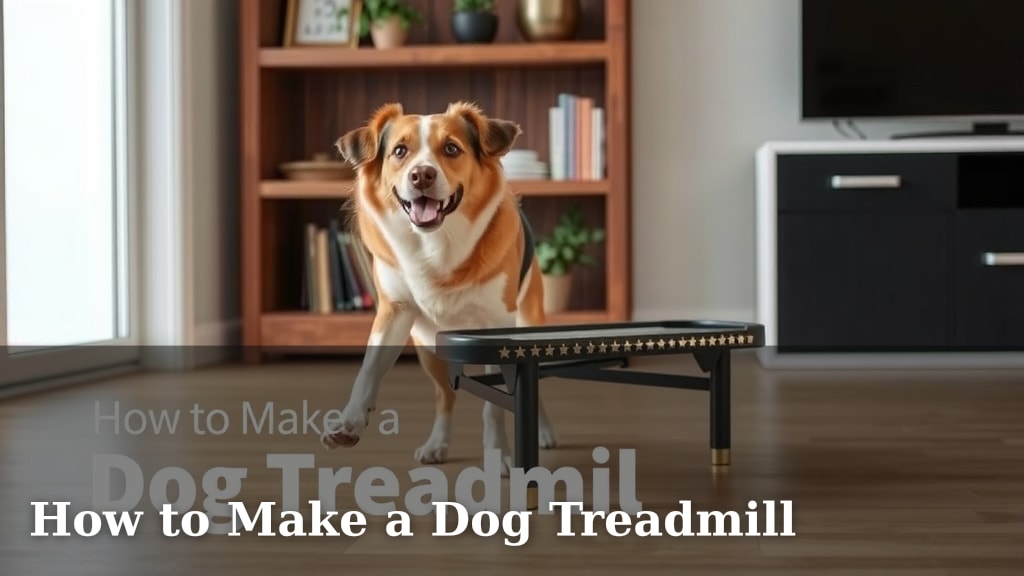
How to Make a Dog Treadmill
Yes, you can definitely make your own dog treadmill, often called a DIY dog treadmill. It’s a rewarding project that provides your canine companion with a consistent way to get exercise, especially when the weather isn’t cooperating. You can build a functional and safe treadmill for your dog with common materials and a bit of effort.
Creating a homemade treadmill means you get to customize it for your dog’s size and needs. This project can save you money compared to buying a commercial dog treadmill. Plus, you’ll gain the satisfaction of building something useful for your furry friend. It’s a great way to ensure your dog stays active and healthy year-round.
- You can build a dog treadmill yourself.
- It’s a great way to provide consistent exercise.
- Customize it for your dog’s specific size.
- It can be a cost-effective alternative to buying one.
- Ensure your dog gets needed physical activity.
Ready to get started? Let’s walk through exactly how you can build your own dog treadmill step by step.
Building Your Dog’s Own Treadmill
Creating a DIY dog treadmill is a fantastic project for any dog owner. You can provide your furry friend with consistent exercise. This is especially helpful during bad weather days or if you have a high-energy pup. It’s a build that’s surprisingly achievable with basic tools. You’ll find it’s a rewarding way to improve your dog’s health and happiness.
Understanding the Basics of a Dog Treadmill
A dog treadmill works much like a human one. Your dog walks or runs on a moving belt. The speed and incline can often be adjusted. This allows you to tailor the workout to your dog’s fitness level. It’s a controlled environment for exercise. This means you don’t have to worry about distractions or traffic.
Safety First: Key Considerations for Your Build
Before you grab your tools, think about safety. Your dog’s well-being is the top priority. The treadmill needs to be sturdy and stable. There should be no gaps where paws could get caught. The belt should move smoothly and predictably. We also want to make sure it’s the right size for your dog. A treadmill that’s too small can be uncomfortable. A treadmill that’s too large might be harder for your dog to use.
Choosing the Right Size for Your Canine Friend
Measure your dog from nose to tail. Then measure from the ground to their shoulder. These measurements will help you determine the appropriate length and width for your treadmill. For smaller dogs, a shorter belt might be fine. Larger breeds will need more space to comfortably walk and run. Many experts recommend a belt length that is at least two to three times your dog’s body length. This ensures they have room to stride naturally (American Kennel Club guidelines).
Materials for a Safe and Sturdy Treadmill
You’ll need materials that are durable and non-toxic. Good quality plywood or sturdy lumber is essential for the frame. For the belt, a durable, non-slip material is best. Some people use old conveyor belt material or a thick rubber mat. You’ll also need a way to power the belt. A small electric motor is common. You’ll need hardware like screws, bolts, and possibly a roller system. Safety rails are also a good idea to keep your dog centered.
Step-by-Step Guide to Building Your Dog Treadmill
Let’s get into the nitty-gritty of building your dog’s new favorite exercise machine. We’ve broken it down into manageable steps to make the process as clear as possible.
Step 1: Planning and Design
Sketch out your design first. Consider the dimensions you calculated earlier. Think about where the motor will go. How will you attach the belt? Will you have an incline option? Many online plans are available for inspiration. Researching existing DIY treadmill designs can give you great ideas. A good plan prevents costly mistakes later on.
Step 2: Constructing the Frame
This is where your lumber comes in. Build a sturdy rectangular frame. This will house the belt and rollers. Ensure all joints are secure. You can use wood screws and wood glue for strong connections. The frame needs to support your dog’s weight and the motion of the belt. Think of it like building a strong, stable platform.
Step 3: Installing Rollers and Belt
You’ll need rollers at each end of the frame. One roller will be connected to the motor. The other will be a free-spinning idler roller. Wrap your chosen belt material around these rollers. Make sure the belt is taut but not overly stretched. You want it to move smoothly without slipping.
Step 4: Adding the Motor and Drive System
Mount your electric motor securely to the frame. Connect the motor to the drive roller. This might involve a belt or a gear system. You’ll need a speed controller for the motor. This allows you to adjust how fast the belt moves. Proper wiring is critical here; if you’re unsure, consult someone knowledgeable about electrical work. Safety first with all electrical components.
Step 5: Incorporating Safety Features
Add side rails to guide your dog and prevent them from falling off. A lip at the front and back can also offer extra security. Make sure there are no exposed wires or sharp edges. Check that the belt is fully enclosed or guarded where it meets the frame. You don’t want any chance of paws getting pinched.
Step 6: Testing and Adjustments
Before your dog steps on, test the treadmill yourself. Does the belt move smoothly? Can you control the speed? Listen for any strange noises. Make sure everything feels secure. Once you’re confident, introduce your dog slowly. Start with the belt off, letting them walk on the static surface. Then, turn it on at the slowest speed. Always supervise your dog during their first few sessions. We found that a little patience goes a long way.
What About an Incline?
Adding an incline can be a great feature. It allows for a more challenging workout. You can achieve this by making one end of the treadmill slightly higher than the other. Some designs use adjustable legs or a hinged frame. For a simpler build, you might just place blocks under the rear of the treadmill. Just ensure it’s very stable if you add an incline.
Alternative Materials and Methods
Not everyone has access to the same tools or materials. Some people have built successful dog treadmills using PVC pipes for the frame, especially for smaller dogs. Others have opted for hand-cranked systems if an electric motor isn’t feasible. You can also adapt old exercise equipment parts. For example, a treadmill motor from a broken human treadmill might be reusable. Researching different DIY approaches can spark creative solutions.
Checklist for Your DIY Dog Treadmill Build
- Gather all your tools and materials before starting.
- Measure your dog carefully for correct sizing.
- Prioritize sturdy construction for safety.
- Ensure the belt material is non-slip and durable.
- Test the treadmill thoroughly before your dog uses it.
- Always supervise your dog during treadmill sessions.
Conclusion
You’ve learned that building a DIY dog treadmill is an achievable and rewarding project. It allows you to provide your dog with consistent exercise, tailored specifically to their needs. Remember, safety and proper sizing are your top priorities throughout the build. By following the steps and keeping those key considerations in mind, you’re well on your way to creating a fantastic piece of equipment for your furry friend. Now it’s time to grab your tools and get building for a happier, healthier pup!
Frequently Asked Questions
How do I know what size treadmill my dog needs?
Measure your dog from nose to tail and ground to shoulder to determine the necessary belt length and width. A good rule of thumb is a belt length at least two to three times your dog’s body length. This ensures they can stride comfortably without feeling cramped.
What kind of materials are safest for a dog treadmill belt?
Opt for durable, non-slip materials. Many builders have success with thick rubber mats or even repurposed conveyor belt material. The key is that it offers good traction and is sturdy enough to withstand your dog’s movement without tearing.
Is it difficult to attach the motor and drive system?
This step requires careful attention, especially with wiring. If you’re not comfortable with electrical work, it’s best to seek help from someone experienced. Properly mounting the motor and connecting it to the drive roller ensures smooth, controllable belt movement.
Can I add an incline feature to a DIY dog treadmill?
Yes, you can add an incline for a more challenging workout. This can be done by slightly raising one end of the treadmill frame. Ensure that any incline mechanism is very stable and secure to prevent the treadmill from tipping.
How should I introduce my dog to the new treadmill?
Introduce your dog slowly and patiently. Start by letting them walk on the stationary belt. Then, turn the treadmill on at its slowest speed while supervising them closely. Positive reinforcement can help them feel more comfortable and confident.