How to Adjust a Treadmill Belt
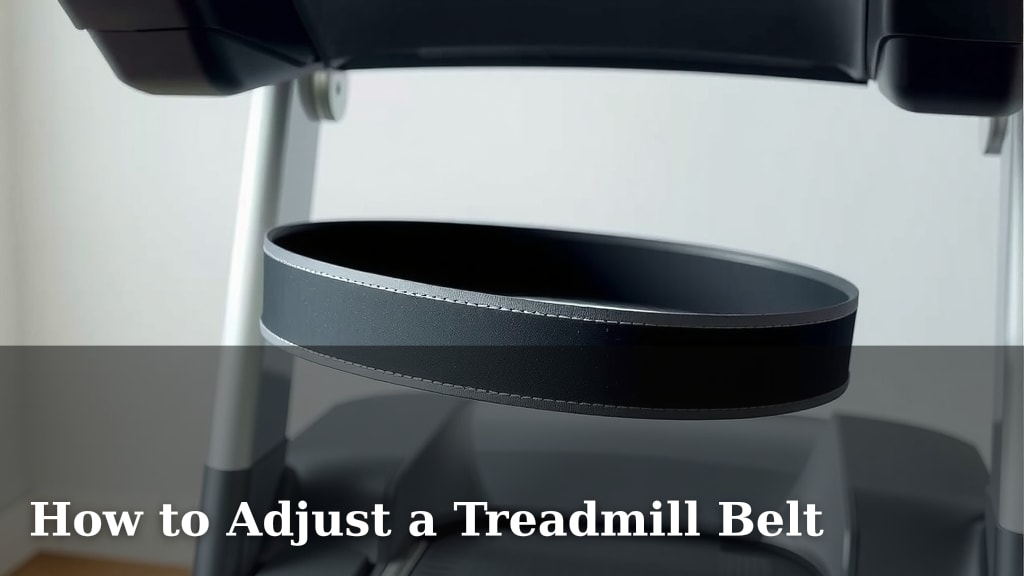
Adjusting your treadmill belt is easier than you think! You can typically fix a loose or tight belt by **tightening or loosening the rear rollers** using a simple hex wrench. This is a common treadmill maintenance task that ensures your workouts are **safe and effective**.
A treadmill belt that’s too loose can slip uncomfortably under your feet, while one that’s too tight causes unnecessary strain on the motor and can even lead to belt damage. Knowing how to make these adjustments will help you **maintain your machine** and get the most out of your exercise time.
- The treadmill belt is adjusted by turning the bolts on the rear roller.
- Turn bolts clockwise to tighten the belt.
- Turn bolts counterclockwise to loosen the belt.
- Make small adjustments and test the belt tension frequently.
- Always unplug the treadmill before making adjustments.
Ready to get your treadmill running smoothly again? Let’s walk through exactly how to adjust that belt step by step.
Getting Your Treadmill Belt Perfectly Aligned
Your treadmill belt is the heart of your machine. Keeping it properly adjusted ensures a smooth, safe workout. You might notice it slipping or feeling too tight. Thankfully, you can usually fix this yourself. It often comes down to the rear rollers. Adjusting these will get your treadmill back in top shape. We’ll guide you through the process. You’ll feel more confident maintaining your equipment.
When Does Your Treadmill Belt Need Adjustment?
Several signs tell you your treadmill belt isn’t quite right. These issues can affect your performance and safety. Ignoring them can lead to bigger problems down the road. It’s best to address them as soon as you notice them. This prevents further wear and tear on your machine.
Common Belt Problems and Their Causes
A belt that slips is often too loose. You’ll feel it slide under your feet. This is uncomfortable and can make you lose your footing. A belt that’s too tight can cause other issues. It puts extra stress on the motor. This can lead to overheating and eventual motor failure. It also wears out the belt itself faster. Sometimes, the belt might drift to one side. This suggests an alignment issue with the rollers.
Why Regular Checks Are Important
Think of belt tension like tire pressure in a car. You need it just right. Too low, and you risk slippage and uneven wear. Too high, and you strain components. Many experts suggest checking your belt tension about once a month. This is especially true if you use your treadmill frequently. Regular checks can catch small issues before they become major repair needs.
Preparing for Treadmill Belt Adjustments
Before you grab your tools, a little preparation goes a long way. Safety is the number one priority here. We want to make sure you don’t accidentally start the machine. Gather what you need so you can work efficiently. A clear workspace also helps prevent tripping hazards.
Safety First: Unplug Your Treadmill
This is the most critical step. Always, always unplug your treadmill from the wall outlet. Never attempt any adjustments while the machine is powered on. Even if you think it won’t turn on, it’s a vital safety measure. We want to avoid any accidental startups. This protects you from injury and your machine from damage. A tripped breaker can happen if adjustments are made while powered.
Gathering Your Tools
Most treadmills use a standard hex wrench, often called an Allen wrench. You’ll likely need a 5mm or 6mm size. Your treadmill manual should specify the exact size. If you don’t have one, they are very inexpensive at any hardware store. It’s also helpful to have a clean cloth handy. You might want to wipe down the rollers. Some people use a measuring tape to ensure even adjustments.
Locating the Adjustment Bolts
The adjustment bolts are typically found at the rear of the treadmill. Look for two bolts, one on each side, near the end of the belt. These bolts are connected to the rear roller. Turning them will move the roller forward or backward. This action tightens or loosens the belt. They might be covered by small plastic caps. You may need to gently pry these off.

Step-by-Step Guide to Adjusting Your Treadmill Belt
Now that you’re prepared, let’s get to the actual adjustment. We’ll focus on tightening and loosening. Remember to make small adjustments. Test the tension frequently. Patience is key to getting it just right.
Tightening a Loose Treadmill Belt
If your belt feels loose and slips, you need to tighten it. This is done by turning the rear roller bolts clockwise. You’ll use your hex wrench for this. Turn each bolt about a quarter turn at a time. Make sure to adjust both bolts equally. If one side is tighter than the other, the belt will likely track off-center. After a quarter turn, plug in the treadmill and run it at a slow speed. Gently try to push the belt sideways. It should have some resistance but not be rock solid. If it still slips, unplug and repeat the adjustment.
Loosening a Tight Treadmill Belt
If your belt feels too tight, you’ll do the opposite. You need to loosen the rear roller bolts. Turn each bolt counterclockwise. Again, use your hex wrench. Give each bolt a quarter turn. Adjust both sides evenly. After the adjustment, plug in the treadmill. Run it slowly and test the belt. You should be able to push it slightly to the side. It shouldn’t feel like it’s glued down. Too much tightness strains your motor and the belt itself. It’s better to err on the side of slightly loose than too tight. According to many fitness equipment guidelines, proper tension prevents premature wear.
Centering the Treadmill Belt (Belt Tracking)
Sometimes, the belt drifts to one side. This is often called tracking. If your belt is consistently moving left or right, you’ll need to adjust it. For a belt drifting to the left, slightly tighten the bolt on the left side. Also, slightly loosen the bolt on the right side. If the belt drifts to the right, do the opposite. Tighten the right bolt and loosen the left bolt. Make very small adjustments. Test after each turn. You want the belt to run perfectly centered. This might take a few tries. Patience is really important here.
Testing for Proper Tension and Alignment
Once you think you’ve got it, it’s time for a thorough test. Run the treadmill at a moderate pace. Walk or jog on it. Does the belt feel stable underfoot? Does it slip at all? Can you push the belt slightly to the side with your thumbs? If you can push it about half an inch to the side, that’s often a good sign. It shouldn’t feel overly tight or sloppy. Keep the treadmill running and watch the belt from the front and back. Is it staying centered? If it drifts, you may need to fine-tune the tracking. A properly tensioned and centered belt is key for a safe workout.
Checklist for Treadmill Belt Adjustment Success
To make sure you haven’t missed anything, use this quick checklist:
- Unplugged: Did you unplug the treadmill before starting?
- Tools Ready: Do you have the correct hex wrench?
- Locate Bolts: Can you easily find the rear roller adjustment bolts?
- Small Turns: Did you make only small, quarter-turn adjustments?
- Test Run: Did you test the belt tension and tracking after adjusting?
- Even Adjustments: Did you adjust both rear bolts equally?
Conclusion
You’ve now learned how to keep your treadmill belt running perfectly. Adjusting a loose or tight belt is a straightforward process. It involves using a hex wrench to turn the rear roller bolts. Remember to always unplug your treadmill first. Make small adjustments and test frequently. Proper belt tension ensures your workouts are safe and prevents unnecessary wear on your machine. By following these steps, you can maintain your treadmill like a pro and keep your runs smooth and consistent. Your next step is to perform a quick check on your treadmill’s belt tension after your next workout!
Frequently Asked Questions
How often should I check my treadmill belt tension?
It’s a good idea to check your treadmill belt tension about once a month, especially if you use your machine frequently. Catching minor issues early can prevent more significant problems and costly repairs down the line.
What if I can’t find the adjustment bolts on my treadmill?
Most treadmills have adjustment bolts located at the rear. If you’re having trouble finding them, consult your treadmill’s owner’s manual. It will provide specific diagrams and instructions for your model.
Can I overtighten my treadmill belt?
Yes, you can overtighten the belt. This can put too much strain on the motor, potentially causing it to overheat or fail prematurely. It also increases wear on the belt itself. Always make small adjustments and test the tension.
What does it mean if the belt is drifting to one side?
If your belt consistently moves to one side, it needs alignment adjustment, often called tracking. This usually means one rear roller bolt needs to be tightened slightly while the other is loosened a bit to guide the belt back to the center.
Do I need any special tools to adjust the belt?
Typically, you only need a standard hex wrench, also known as an Allen wrench. Common sizes are 5mm or 6mm. Your treadmill manual should specify the exact size required.