How to Adjust the Belt on a ProForm Treadmill
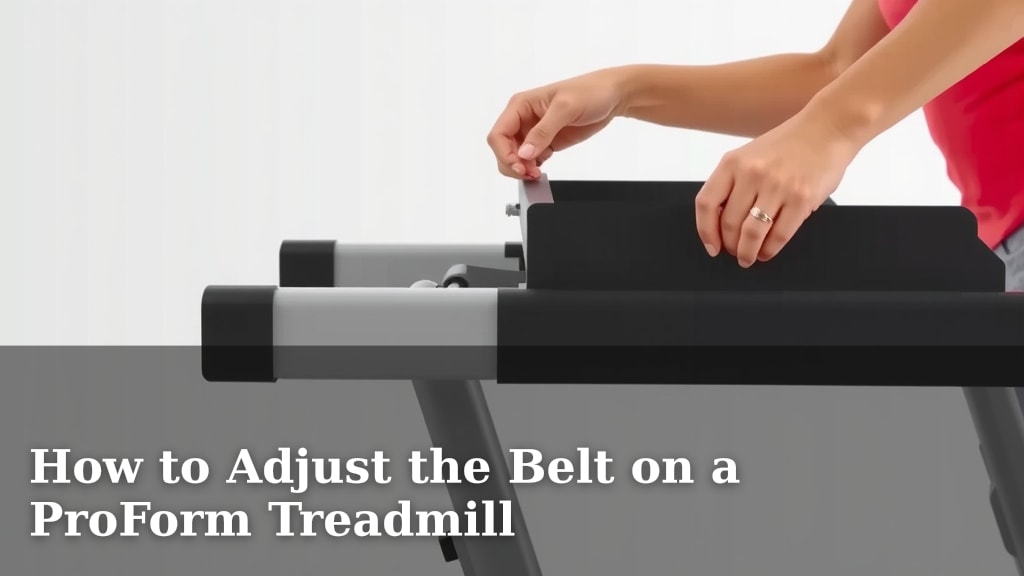
Adjusting your ProForm treadmill belt is surprisingly straightforward. You’ll typically use a hex wrench to turn the adjustment bolts found at the rear of the treadmill. Tightening these bolts moves the belt forward, while loosening them moves it backward. A properly tensioned belt prevents slipping and ensures smooth operation during your workouts.
If your ProForm treadmill belt feels too loose, it can cause a frustrating slipping sensation. On the flip side, a belt that’s too tight can cause undue stress on the motor. Finding that sweet spot of tension is key for both performance and the longevity of your machine.
- ProForm treadmill belts usually need adjustment.
- Use a hex wrench to turn the rear bolts.
- Tighten to move the belt forward; loosen to move it back.
- Proper tension prevents slipping and motor strain.
- Check your owner’s manual for specific instructions.
Ready to get your treadmill running like new? Let’s walk through exactly how to adjust your ProForm treadmill belt step by step.
Getting Your ProForm Treadmill Belt Aligned
Adjusting your ProForm treadmill belt is a common maintenance task. You can usually fix a slipping or drifting belt yourself. This keeps your treadmill running smoothly and safely. We’ll guide you through the process.
Understanding Belt Tension: Why It Matters
A treadmill belt needs the right amount of tension. Too loose, and it can slip under your feet. This feels quite jarring and can even lead to a fall. Imagine trying to run on ice – that’s a similar, unpleasant sensation.
On the other hand, a belt that is too tight puts extra strain on your treadmill’s motor. This can cause it to overheat and potentially fail prematurely. Keeping the tension just right helps your treadmill last longer. Many experts suggest checking belt tension at least once a month (ProForm Support).
Signs Your Treadmill Belt Needs Adjustment
How do you know if your belt needs attention? There are a few tell-tale signs. If you feel the belt slipping during your run, that’s the most obvious indicator. It might feel like your feet are pushing through the belt rather than propelling you forward.
You might also hear a squeaking noise. This can happen when the belt is too loose and rubbing against the deck or rollers. Another sign is if the belt consistently drifts to one side. Even if it’s not slipping, it should stay centered.
Tools You’ll Need for Belt Adjustment
The good news is you don’t need a whole toolbox. Most ProForm treadmills use a standard hex wrench, often called an Allen wrench. It’s usually included with your treadmill when you first set it up. If you can’t find it, a 5/16-inch or 8mm hex wrench is commonly used.
You’ll also want a measuring tape. This helps ensure you make even adjustments on both sides. A clean cloth might be useful for wiping down the belt and deck area.
Locating the Adjustment Bolts
The adjustment bolts are almost always located at the rear of your ProForm treadmill. Look underneath the motor cover or just behind the rear roller. You’ll see two bolts, one on each side.
These bolts control the tension and alignment of the belt. Turning them clockwise tightens the belt, while turning them counter-clockwise loosens it. It’s important to adjust them evenly. Uneven adjustments can cause the belt to track poorly.
Step-by-Step Guide to Adjusting Your Treadmill Belt
Step 1: Prepare Your Treadmill
First, ensure the treadmill is unplugged. Safety is our top priority here! You don’t want the belt to move unexpectedly while you’re working on it. Clear the area around the treadmill so you have plenty of space to move.
Give the belt and the deck a quick wipe-down with a dry cloth. This removes any dust or debris that could interfere with the belt’s movement. It’s also a good time to inspect the belt for any tears or excessive wear.
Step 2: Check the Current Belt Tension
Before making any adjustments, understand the current state of your belt. Gently try to lift the edge of the belt. You should be able to lift it about an inch. If it feels very slack or if you can lift it much higher, it’s likely too loose.
If it feels very stiff and difficult to move at all, it might be too tight. A properly tensioned belt will have some give but won’t feel sloppy. Many treadmill manuals suggest a specific amount of give, so check yours if you have it handy.
Step 3: Make Small, Even Adjustments
Insert your hex wrench into one of the rear adjustment bolts. Turn it clockwise a quarter turn. Then, go to the other side and turn that bolt clockwise a quarter turn as well. This ensures even tension.
If your belt is drifting to one side, you’ll need to make a slightly different adjustment. For example, if the belt is drifting to the left, you might tighten the right bolt slightly more than the left. Or, you could loosen the left bolt slightly. Make these adjustments in very small increments, like one-eighth or a quarter turn.
Step 4: Test the Belt’s Movement
After making adjustments, plug the treadmill back in. Turn it on at a slow speed, perhaps 1-2 mph. Walk on the belt and feel for any slipping or strange noises. Watch to see if the belt stays centered.
You may need to repeat steps 3 and 4 several times. It’s better to make many small adjustments than a few large ones. Patience is key here. You’re aiming for a smooth, centered, and responsive belt. We found that around 3-4 test runs are often needed.
Step 5: Fine-Tuning and Final Check
Once the belt feels right at a slow speed, gradually increase the speed to your typical running pace. Perform a short run to see how it behaves under load. Does it slip? Does it drift?
If everything feels good, unplug the treadmill again. You can give the adjustment bolts a final snug tightening, but be careful not to overtighten them. A common mistake is to crank down too hard, which can damage the roller or the belt itself.
Common Issues and Troubleshooting Tips
What if your belt still isn’t behaving? Don’t get discouraged. Sometimes, the issue might be more than just tension.
Belt Drift
If the belt consistently drifts to one side despite your adjustments, the rear roller might be slightly out of alignment. This is less common and can be trickier to fix yourself. Consult your owner’s manual or a service technician.
Slipping Under Load
If slipping only occurs when you run at higher speeds, you might need slightly more tension. Add another quarter turn to both bolts and test again. If the belt continues to slip even when properly tensioned, the belt itself might be worn out or the motor may be having issues.
Excessive Noise
Squeaking often indicates a need for lubrication between the belt and the deck, or it could mean the belt is too loose. If you’ve lubricated and the noise persists, check the belt tension. A humming noise under load could point to motor strain from an overtightened belt.
When to Seek Professional Help
While most belt adjustments are DIY-friendly, there are times when it’s best to call a professional. If you’ve tried adjusting the bolts multiple times and the problem persists, it might be a more complex issue. This could include worn-out parts, roller problems, or motor issues.
Also, if you’re not comfortable performing the adjustments, there’s no shame in calling a qualified treadmill technician. They have the expertise and tools to diagnose and fix the problem correctly. Most manufacturers recommend professional servicing annually (Consumer Reports).
Your Treadmill Belt Adjustment Checklist
- Unplug the treadmill before starting.
- Locate the two rear adjustment bolts.
- Use the correct size hex wrench.
- Make small, quarter-turn adjustments.
- Adjust both bolts evenly for tracking.
- Test the belt at slow and then higher speeds.
Conclusion
You’ve now learned the essential steps to adjust your ProForm treadmill belt. Remember, proper belt tension is vital for a safe and efficient workout. It prevents slipping and protects your motor from strain. By following these simple steps, you can keep your treadmill running smoothly for years to come.
Don’t hesitate to make small adjustments and test frequently. If you encounter persistent issues or feel uncomfortable, seeking professional help is always a smart choice. Your next step is to grab that hex wrench and give your treadmill the care it deserves!
Frequently Asked Questions
How often should I check my ProForm treadmill belt tension?
We recommend checking your belt tension at least once a month. Regular checks help catch issues early. This monthly habit ensures your treadmill remains in optimal condition for every workout.
Can I overtighten my ProForm treadmill belt?
Yes, you can definitely overtighten the belt. Overtightening puts excessive strain on your motor and can cause it to overheat or fail. Always make small adjustments and avoid forcing the bolts.
What if my belt is drifting to one side even after adjustments?
If your belt consistently drifts even after you’ve made adjustments, the rear roller might be misaligned. This is a less common issue and may require professional attention. Consult your owner’s manual for guidance.
My treadmill belt feels too loose, but tightening it doesn’t seem to help. What’s wrong?
If tightening the bolts doesn’t increase tension, the belt itself might be worn out or stretched. In this case, you may need to replace the belt. A technician can confirm if belt replacement is necessary.
Is there a specific speed I should test the belt at after adjusting it?
It’s best to test at a slow walking speed first, around 1-2 mph, to check for centering and initial feel. Then, gradually increase the speed to your typical running pace to see how it performs under load.