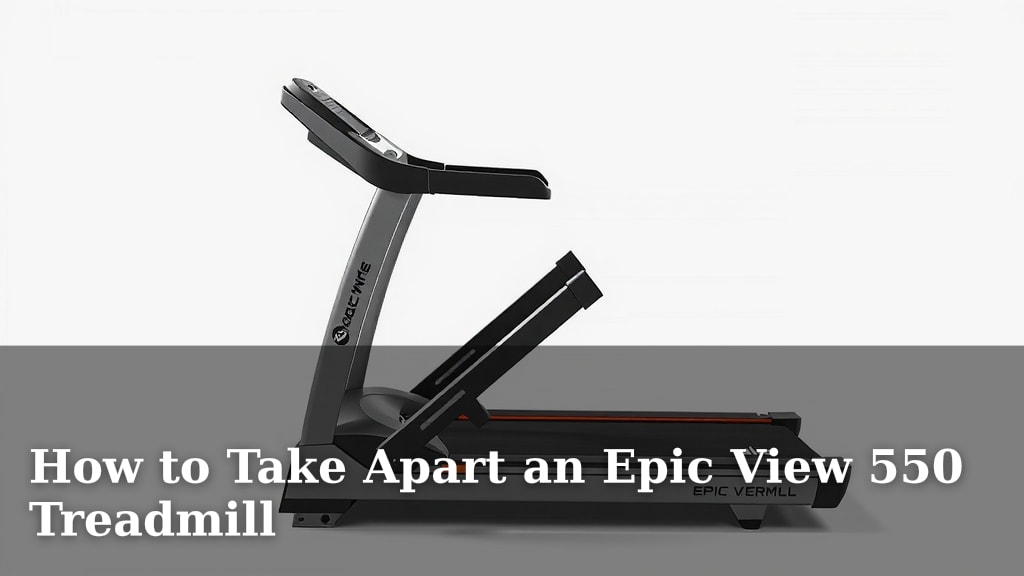
How to Take Apart an Epic View 550 Treadmill
Taking apart your Epic View 550 treadmill is totally doable! You’ll need a few common tools like screwdrivers and a wrench. The main steps involve identifying and removing the motor cover, then disconnecting the various electrical components. Many users find success by working methodically and keeping track of removed parts.
When you’re ready to disassemble your treadmill, it’s smart to have a plan. This process can seem a bit daunting, but we found that breaking it down makes it much easier. Think of it like putting together furniture, but in reverse. Having a clear workspace and maybe a helper can make a big difference.
- Identify and remove the motor cover first.
- Carefully disconnect all visible wires.
- Loosen bolts holding major frame sections.
- Organize all screws and small parts.
Let’s walk through exactly how to get your Epic View 550 apart, step by step, so you can get it done without any major headaches.
Disassembling Your Epic View 550 Treadmill Made Easy
You’re ready to take apart your Epic View 550 treadmill. That’s a smart move if you’re relocating, upgrading, or just need to make some space. We found that tackling this project piece by piece makes it much less intimidating. Think of it like a puzzle, but the goal is to get it into smaller, manageable parts.
Gathering Your Tools and Preparing Your Workspace
Before you dive in, let’s make sure you have what you need. Having the right tools on hand will save you a lot of frustration. You’ll want to gather a few basic items. This ensures you’re not hunting for something halfway through the process.
Essential Tools for Treadmill Disassembly
Most of the work requires common household tools. You probably already have most of these in your toolbox. We recommend having these ready to go:
- Phillips head screwdrivers (various sizes)
- Flathead screwdrivers (various sizes)
- Adjustable wrench or a set of metric wrenches
- Socket set (metric sizes are common)
- Pliers
- Work gloves (to protect your hands)
- Safety glasses (always a good idea)
- A helper (seriously, this makes a huge difference!)
Setting Up Your Work Area
Find a clear space where you can lay out parts. You’ll need room to maneuver the treadmill and its components. A large, open area like a garage or a cleared living room floor is ideal. Laying down a drop cloth or old blankets can protect your floor from scratches. This also helps keep small parts from rolling away.
Step-by-Step Treadmill Take-Apart Guide
Now that you’re prepped, let’s get started. We’ll work from the top down, generally. This approach helps maintain stability as you go. Always remember to unplug the treadmill before you begin any disassembly. Safety first!
Accessing the Motor and Console Components
The first major hurdle is often the motor cover and the console. These house electrical components and the motor itself. Taking them off carefully is key.
Removing the Motor Cover
The motor cover is usually a plastic casing that protects the motor. You’ll typically find screws holding it in place. Look around the base of the cover for these fasteners. Sometimes they are hidden under small plastic caps. Gently pry these caps off with a flathead screwdriver if needed. Once the screws are out, the cover should lift or slide off. Be mindful of any wires that might still be attached.
Disconnecting the Console Wiring
The console connects to the rest of the treadmill via wires. You’ll see these wires as you remove the motor cover. These connections are usually simple plugs. They often have a small clip or tab that you need to press to release. Don’t force them. If a plug seems stuck, double-check for a locking mechanism. We found that taking photos as you disconnect wires can be a lifesaver for reassembly.
Working on the Treadmill Frame and Deck
Once the top components are out of the way, you can focus on the main frame. This is where most of the weight is concentrated.
Disengaging the Treadmill Belt
You might need to remove the treadmill belt. This often involves loosening the roller bolts at the back of the deck. There’s usually an adjustment mechanism for belt tension. You’ll want to release this tension before trying to remove the belt. Sometimes, you can simply slide the belt off the rollers. Other times, you may need to cut it if it’s very stuck or you’re not planning to reuse it.
Detaching Frame Sections
The treadmill frame is typically held together with bolts. You’ll find these connecting the uprights, the base, and the deck. Use your wrench or socket set to loosen and remove these bolts. Keep track of which bolts go where, as they can vary in size. We found it helpful to place bolts in labeled bags or containers.
Removing the Motor and Other Heavy Parts
The motor is the heaviest component. It’s best to remove this with a helper. Other heavy parts might include the flywheel or large metal supports.
Unbolting the Motor
The motor is usually secured to a mounting plate or the frame with several bolts. Locate these bolts and carefully remove them. Ensure you have a good grip on the motor when the last bolt is out. It’s surprisingly heavy. Have your helper ready to catch or support its weight. Place it gently in your prepared workspace.
Handling Other Substantial Components
As you continue, you’ll encounter other heavy parts like the flywheel or the main drive roller. These are generally bolted in place. Follow the same process: identify the fasteners, loosen them with the appropriate tool, and carefully remove the part. Always ensure you have support for these items.
Organizing Your Removed Parts
This is a step that many people overlook, but it’s incredibly important. Proper organization prevents lost pieces and makes reassembly much smoother.
The Art of Screw and Bolt Management
As you remove screws, bolts, and washers, immediately put them into a designated container. Ziploc bags work great for this. Label each bag with the part of the treadmill it came from and what it does. For example, “Console Screws,” “Motor Mount Bolts,” or “Frame Screws – Left Side.” This step is worth its weight in gold later.
Categorizing Larger Components
Larger parts can be placed in groups. Keep the motor in one area, the console in another, and the frame pieces together. If you’re storing the treadmill for a while, consider wrapping delicate parts or covering them to prevent dust buildup. A final checklist can also be helpful.
Here’s a quick checklist to keep you on track:
- Unplug the treadmill before starting.
- Remove motor cover and console wires.
- Loosen and remove frame bolts.
- Carefully detach and store the motor.
- Organize all screws and small parts.
- Document with photos if needed.
Conclusion
You’ve successfully navigated the process of taking apart your Epic View 550 treadmill! By gathering your tools, working systematically, and keeping your parts organized, you’ve made a potentially complex task manageable. Remember, breaking it down into smaller steps, just like we did, is the key. Your hard work means you’re ready for your next step, whether that’s moving, storing, or upgrading. Keep that organized approach for reassembly or disposal!
Frequently Asked Questions
How heavy is the motor on the Epic View 550 treadmill?
The motor is typically the heaviest component on the treadmill. We found it’s best to have a helper ready when you unbolt it. It’s surprisingly dense and can be awkward to handle alone.
Do I really need a helper to take this treadmill apart?
While you might be able to remove smaller parts solo, a helper makes handling the heavier sections like the motor and frame much safer. We highly recommend it for your own comfort and safety.
What if I can’t find a specific screw or bolt?
If a fastener seems stuck, don’t force it. Double-check that you’ve removed all other components holding that section together. Sometimes, a little wiggle or gentle prying is needed, but always be careful not to damage the parts.
Is it easier to take apart a treadmill outside or inside?
Taking it apart inside a garage or spacious room is often more convenient, especially if you need to protect parts from weather. This also keeps your removed components clean and prevents them from getting lost outside.
Can I sell my disassembled treadmill parts?
Yes, you absolutely can! If some parts are still in good working condition, they can be valuable to others looking for replacements. Organize them well, as we discussed, to make them easier to list and sell.